basic windows installer
You’ve just finished building your awesome new .NET application. It will truly change the world once released into the wild. However, you want to provide your end users with an installer. Building a Windows installer for your .NET application can be confusing given the wide variety of available options. The market is pretty busy with competing commercial options and even a few open source projects to choose between. Only you can decide which installer is appropriate for your specific project but if all you need is a basic installer (no SCCM, App-V, ThinApp, etc) then you can roll your own.
Existing Options
First we should take a moment to review a couple of the commercial and open source options available on the Windows installer market. Note these are in no particular order and only include installers I’ve personally used at one time or another.
Commercial Installers
InstallShield is probably the most common as it has been bundled in some form with Visual Studio. However, it has pretty crazy costs that start at $699 for their most basic Express version up to their Premier version starting at $4,999. This is an expensive option considering it’s one of the harder install tools to figure out.
InstallAware is a bit cheaper and easier to use than InstallShield. Getting a basic installer up and running is straightforward and fast. However, they have so many features it gets complicated fast. Their Express edition starts at $499 and their Studio Admin runs $3999.
Advanced Installer is a highly recommended installer that’s probably the easiest to use and comes with a very intuitive IDE. Their Professional version is $399 and their Architect version is $2999. Of all the commercial options I’ve used, this is the one I prefer.
Open Source Installers
Inno Setup is a solid open source installer with a lot of features. It’s been around since 1997 and has an IDE to make building/testing installers much easier.
WiX is a very good open source installer originally written by Microsoft. Given its origins it’s no surprise it has great support for .NET applications and combined with Burn makes building .NET installers a lot less painful.
NSIS stands for Nullsoft Scriptable Install System. It’s not super easy to use but with enough patience you can get the job done.
Squirrel.Windows is like the polished version of the installer described in this article. It’s billed as “It’s like ClickOnce but Works™” and is used for the Windows version of GitHub’s popular Atom editor. It’s can be a bit awkward to get started but once you’ve figured it out it’s pretty solid and makes automatic upgrades for your app effortless.
Roll Your Own
The above tools are more than sufficient for anything you’re trying to do but sometimes they are just too heavy. Sometimes you just need something simple to distribute your .NET application but don’t want to spend a bunch of time and/or money learning a new tool. In that case you can leverage your existing .NET skills and put together a very basic installer.
The Basic Idea
Generally you’d want your installer to be able to install all of your dependencies, including .NET. However, if you only need to support Windows Vista™ or higher you can safely assume .NET 2.0 is installed. This means we can build our installer using .NET as long as we target the 2.0 runtime. For the vast majority this should be acceptable. If not and you really need to support an OS that even the vendor doesn’t maybe you need to reflect on your career choices 🤔.
The basic flow
- Upon startup our .NET app will display an animated “progress” screen
- Any embedded third-party installers will be extracted to a temp directory and executed with their appropriate silent switch
- Any other embedded resources will be copied to the installation directory
- To avoid user input and UAC prompts we’ll be installing to the local user account
- An optional desktop shortcut can be created for the main application
- After install, the main application is started
Something to Install
Let’s build a quick app which we’ll use as our example app for this installer. Our example app won’t be fancy. It’ll just display the version number and pull in the readme from GitHub. Let’s throw it together.
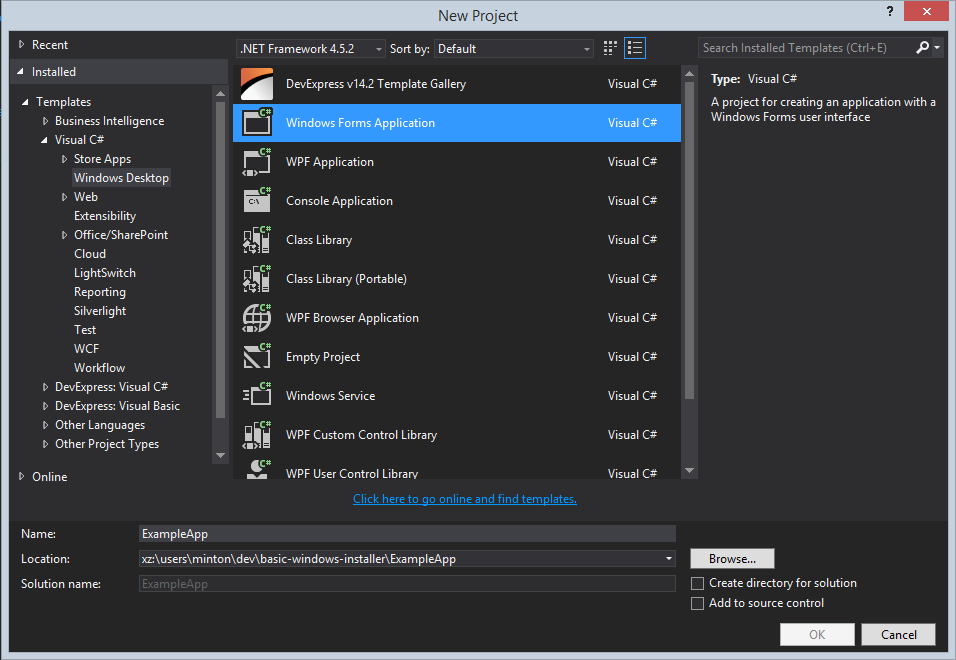
1. Create a new Windows Forms Application using .NET 4.5.2
2. Install CommonMark.NET from NuGet
Package Manager Console Host Version 2.8.50926.663

Type 'get-help NuGet' to see all available NuGet commands.

PM> Install-Package CommonMark.NET
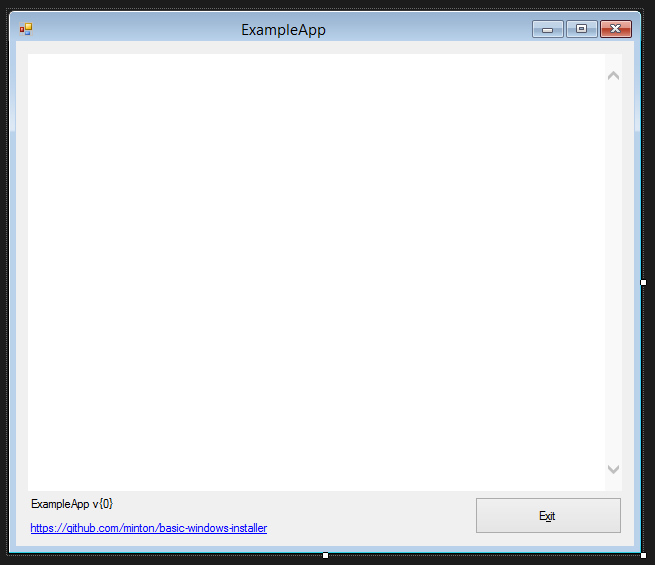
3. Setup the User Interface
- Rename
Form1toMain - Drag a
WebBrowsercontrol from the Toolbox onto the form and set these properties:- Name:
browser
- Name:
- Drag a
LinkLabelcontrol from the Toolbox onto the form and set these properties:- Name:
lnkGithub - Text:
https://github.com/minton/basic-windows-installer
- Name:
- Drag a
Labelcontrol from the Toolbox onto the form and set these properties:- Name:
lblVersion - Text:
ExampleApp v{0}
- Name:
- Drag a
Buttoncontrol from the Toolbox onto the form and set these properties:- Name:
btnExit - ext:
E&xit
- Name:
- Layout the form like this:
4. Wire it up
The code for Main.cs should wire up the exit button, the links, and load the README from Github into the browser control.
  public partial class Main : Form
    {
        const string GitHubRepository = "https://github.com/minton/basic-windows-installer";
        const string GitHubReadMe = "https://raw.githubusercontent.com/minton/basic-windows-installer/master/README.md";

        public Main()
        {
            InitializeComponent();
            btnExit.Click += (_, __) => Application.Exit();
            lnkGithub.LinkClicked += (_, __) => Process.Start(GitHubRepository);
            lblVersion.Text = String.Format(lblVersion.Text, Assembly.GetExecutingAssembly().GetName().Version);
            Task.Run(() =>
            {
                using (var client = new WebClient())
                {
                    client.DownloadStringCompleted += (_, e) => PopulateReadMe(e.Result);
                    client.DownloadStringAsync(new Uri(GitHubReadMe));
                }
            });
        }

        void PopulateReadMe(string readme)
        {
            var html = CommonMark.CommonMarkConverter.Convert(readme);
            browser.DocumentText = html;
        }
    }
Automating the Build
Let’s throw together a quick, repeatable way to build our app and its installer. For this we’ll use FAKE an awesome rake clone. I won’t go over the build script in detail as the FAKE site does a pretty good job of that.
We’ll create a new file in the root directory called build.fsx and another called build.bat. The first file is our FAKE build script. It will clean the directories, build our app in release mode, and then build our installer. You can find the full contents in the repo. The second is a batch file that will make it easy for us to do builds from the command prompt.
build.bat
@echo off
IF [%1]==[] GOTO DEFAULTTASK
  "src\.nuget\NuGet.exe" "Install" "FAKE" "-OutputDirectory" "tools" "-ExcludeVersion"
"tools\FAKE\tools\Fake.exe" build.fsx %1
GOTO END
:DEFAULTTASK
  "src\.nuget\NuGet.exe" "Install" "FAKE" "-OutputDirectory" "tools" "-ExcludeVersion"
"tools\FAKE\tools\Fake.exe" build.fsx
:end
Building the Installer
1. Generate an animated GIF for our loading screen
Pretty much any animated GIF file will work so if you have mad graphics skills go for it. If not, you can grab a simple loading animation from a dozen or so generators available online. For this example I used Preloaders.net.

- Visit Preloaders.net
- Pick and customize your loading gif
- Click download to save the .GIF to the
assetsfolder of your installer project - Rename the file to
loading.gif
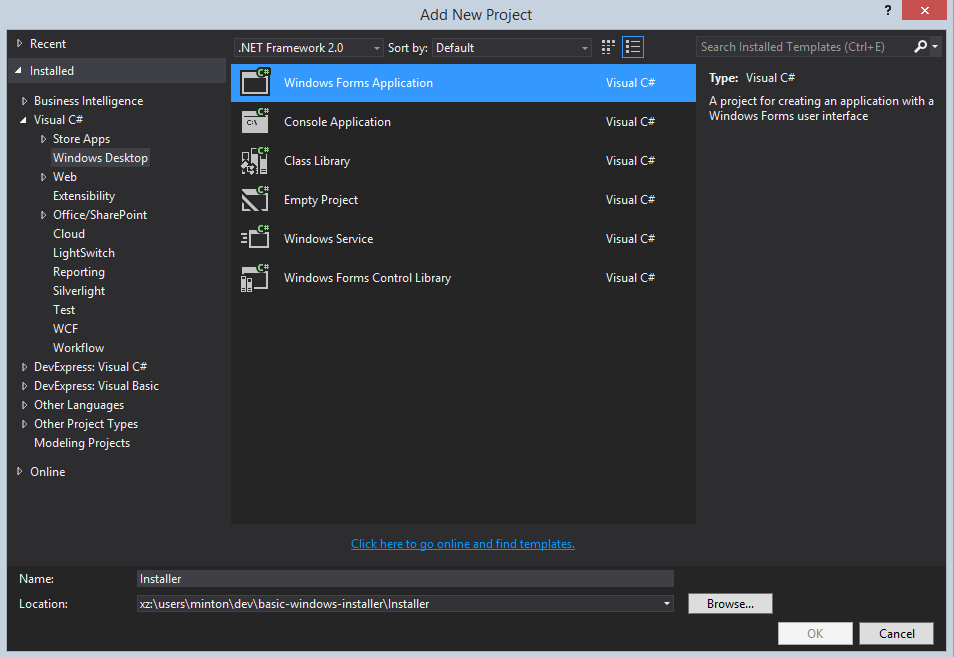
2. Create a new Windows Forms Application using .NET 2.0
3. Add our installer icon
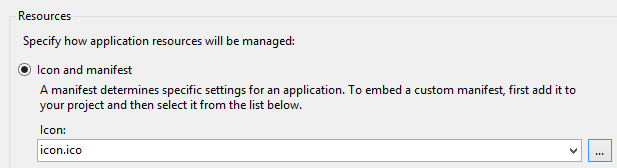
- Double-click the Properties node of the Project and go to the Application tab
- Under Resources click the browser button and navigate to your desired icon which should be located
assets
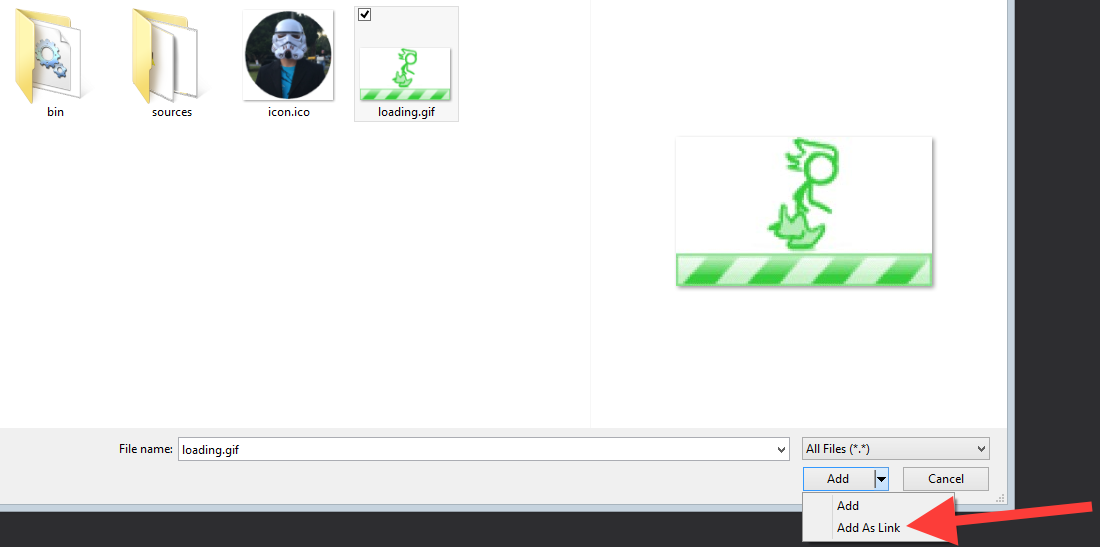
4. Add our loading graphic
- Right-click the Project -> Add -> New Folder named Resources
- Right-click the Resources folder -> Add -> **Existing Item…
- Change the file type filter to All Files (*.*)
- Browse to the assets folder in your project’s source directory
- Select the
loading.giffile we downloaded earlier - Click the dropdown on the Add button and select Add As Link
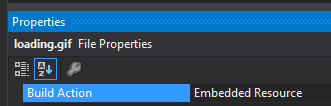
- Right-click the
loading.gifand set the Build Action to Embedded Resource
5. Add Third-Party Installs
This example app doesn’t depend on any third-party libraries that require an install. However, it was built against .NET 4.5.2 so you’ll need to include it in our installer. You can download the redistributable here.
- Download and rename to
dotnet.exeand move into theassets\sourcesfolder in the project directory - Right-click the Project -> Add -> Existing Item…
- Change the file type filter to All Files (*.*)
- Navigate to and select the
dotnet.exefile - Click the dropdown on the Add button and select Add As Link
- Right-click
dotnet.exeand set the Build Action to Embedded Resource - Repeat for all required files
6. Add Our Example Application
Note: We have a bit of a chicken and egg problem in that our installer depends on the release build of the ExampleApp being an embedded resource. Just run build.bat BuildInstaller from the command line to build ExampleApp.exe in the build folder.
- Right-click the Projec -> Add -> Existing Item…
- Navigate to the build folder and select the
ExampleApp.exefile - Click the dropdown on the Add button and select Add As Link
- This is important so new builds of
ExampleApp.exeare picked up each time we build the installer
- This is important so new builds of
- Right-click
ExampleApp.exeand set the Build Action to Embedded Resource - Repeat for all required files including
CommonMark.dllandExampleApp.exe.config
7. Some Useful Classes
The basic installer leans on a couple of utility classes for some of the installer-y type stuff. The Utility.cs class contains methods for extracting resources to disk, executing processes, checking for the .NET framework, and some path related stuff. The ShellFile.cs file contains a few classes that are used to create desktop shortcuts. That class was almost directly lifted from the Squirrel project which borrowed it from an old vbaccelerator article. 😎
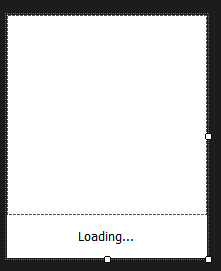
8. The Installer UI
Although it is slightly verbose due to .NET 2.0’s lack of language features, our installer is actually pretty simple. Let’s get started.
- Rename Form1 to Main and set these properties:
- FormBorderStyle:
FormBorderStyle.None - StartPosition:
FormStartPosition.CenterScreen - DoubleBuffered:
true - TopMost:
true - ShowInTaskbar:
false
- FormBorderStyle:
- Drag a PictureBox control from the Toolbox onto the form and set these properties:
- Name:
pb - Dock:
DockStyle.Top
- Name:
- Drag a Label control from the Toolbox onto the form and set these properties:
- Name:
lblStatus - Dock:
DockStyle.Fill
- Name:
- Drag a Timer control from the Toolbox and set these properties:
- Name:
tmrDelay - Interval:
1000
- Name:
- Drag a BackGroundWorker control from the Toolbox and set these properties:
- Name:
bgw - WorkerReportsProgress:
true
- Name:
- Layout the form like this:
The constructor for Main.cs will wire up mouse move events to allow the end user to drag our borderless window, wire up the BackGroundWorker (because .NET 2.0), and start a gross timer to introduce just enough delay to ensure the form and our animated graphic are properly displayed. 😷
 pb.Image = Utility.GetLoadingGraphic();
 WireMouseEvents();
 tmrDelay.Tick += (s, e) =>
 {
     //gross
     tmrDelay.Stop();
     bgw.RunWorkerAsync();
 };
 bgw.DoWork += Install;
 bgw.ProgressChanged += StatusChanged;
 bgw.RunWorkerCompleted += Finished;
The actual work is accomplished in the Install method which runs on the BackGroundWorker thread. Let’s walk through it briefly.
First we check if we need to install .NET 4.5.2 so we don’t end up repairing someone’s .NET installation.
if (Utility.IsDotNet452() == false)
Next we install the various required “stuff” via the Install() method. This method takes a status which is used to update the UI so the end user knows what’s happening, the name of the resource to extract from the installer, optional command line arguments, and an install path where we’d like to put this file.
If all goes well we’ll create a desktop shortcut for the main app.
Utility.CreateShortcut(string.Format(@"{0}\ExampleApp.exe", Utility.GetInstallPath("ExampleApp")));
An potentially interesting thing to note about the main install logic is that it’s wrapped in a fancy GOTO. This allows us to continue the install only if the current step succeeds. If any step returns false we break out of the do.
do
{
  ...
  if (Install(...) == false) break;
  if (ExtractFile(...).Success == false) break;
  ...
} while (false);
The Final Payoff
Download the code
You can get the source code for the basic-windows-installer example from github.com/minton/basic-windows-installer.
- development
- .net